Overview
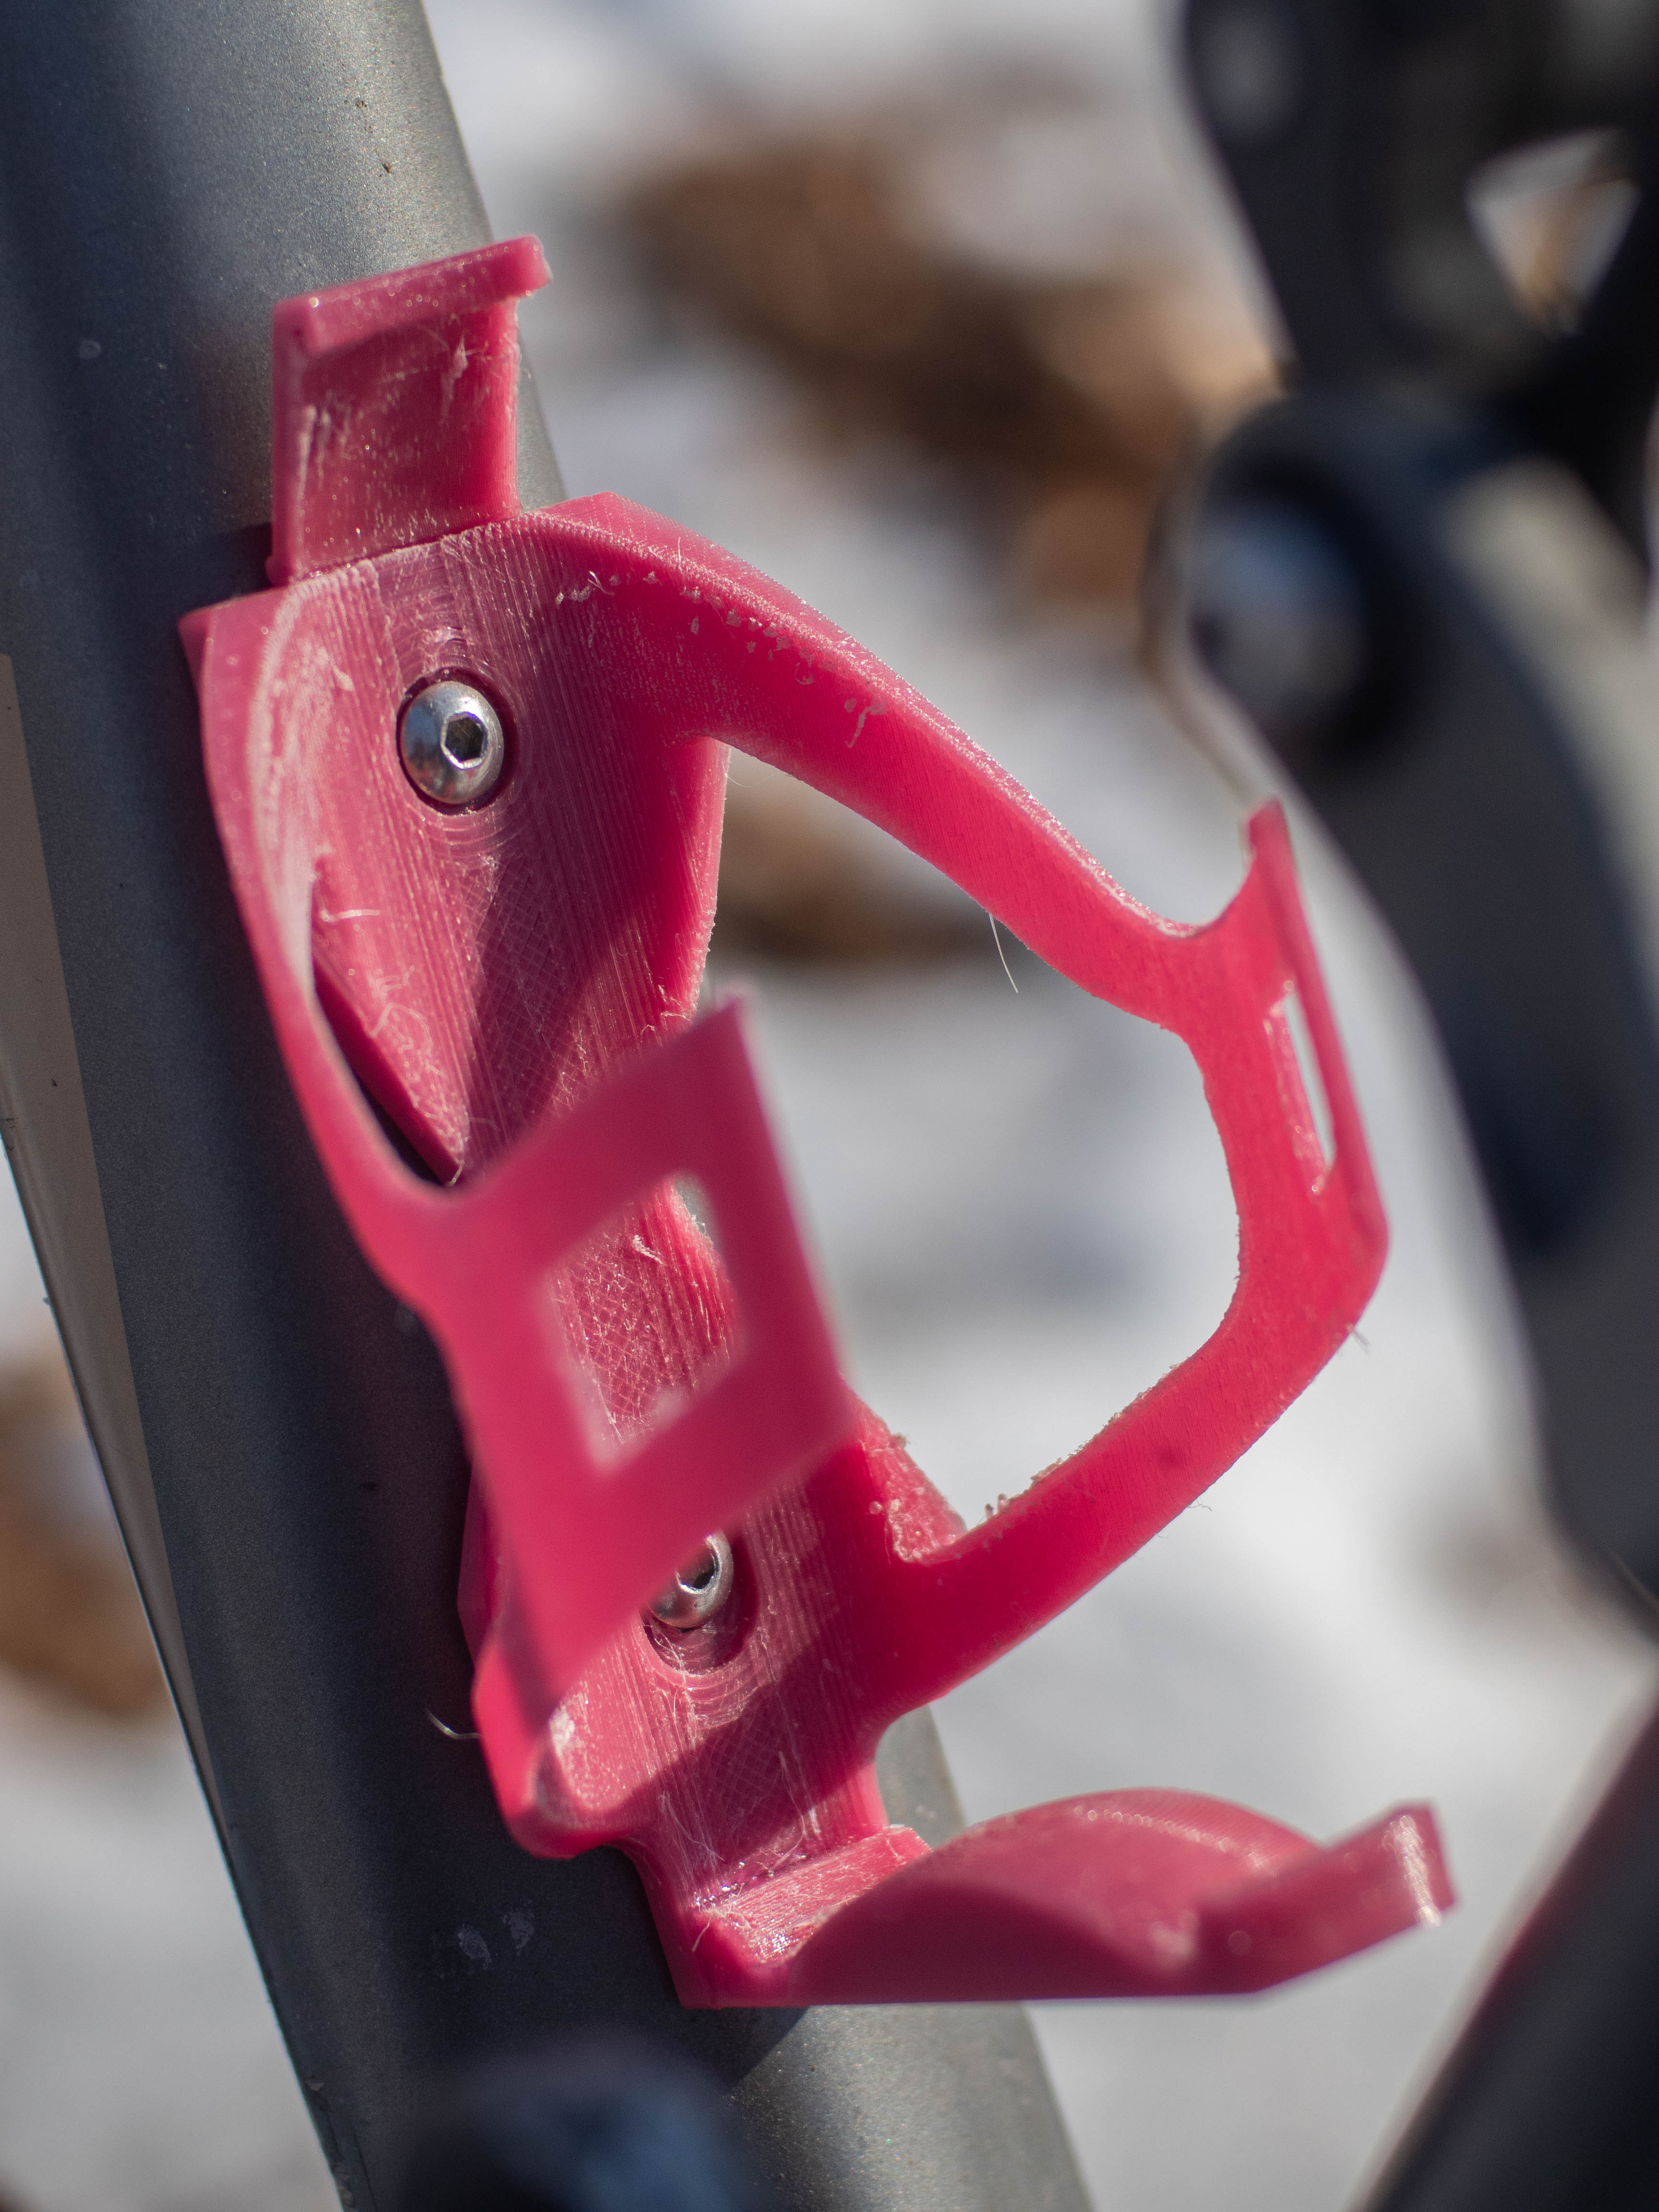
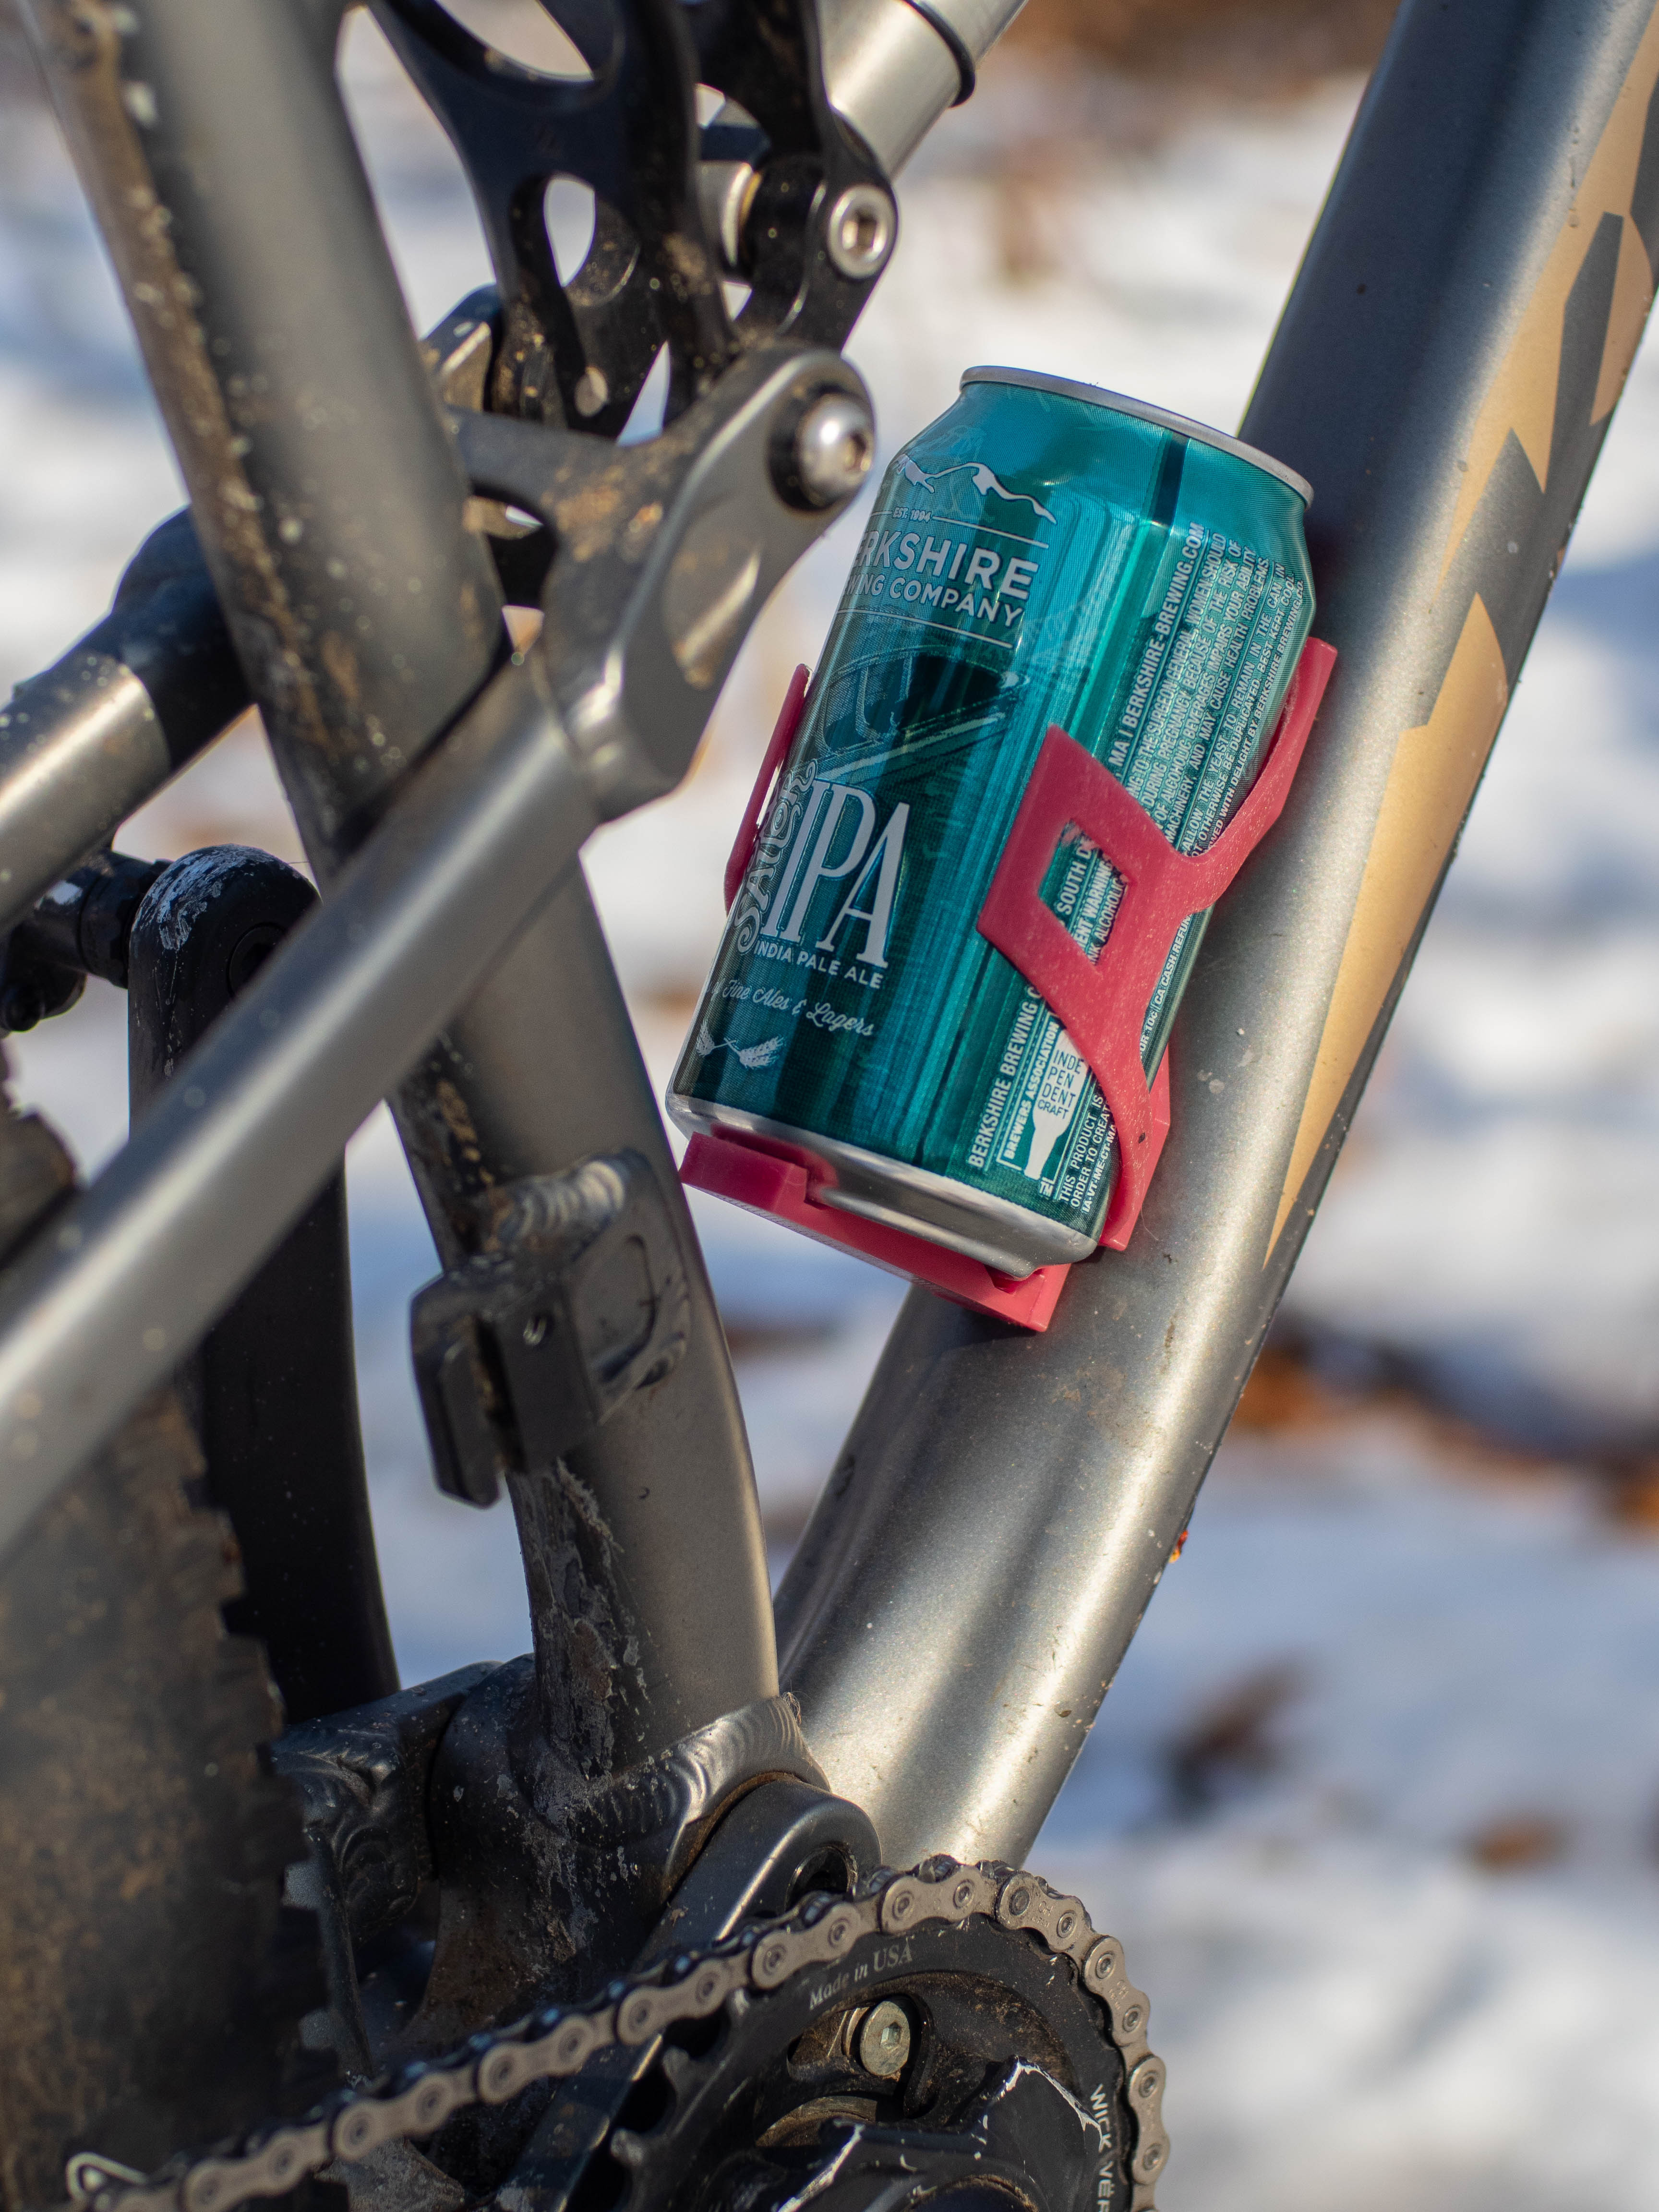
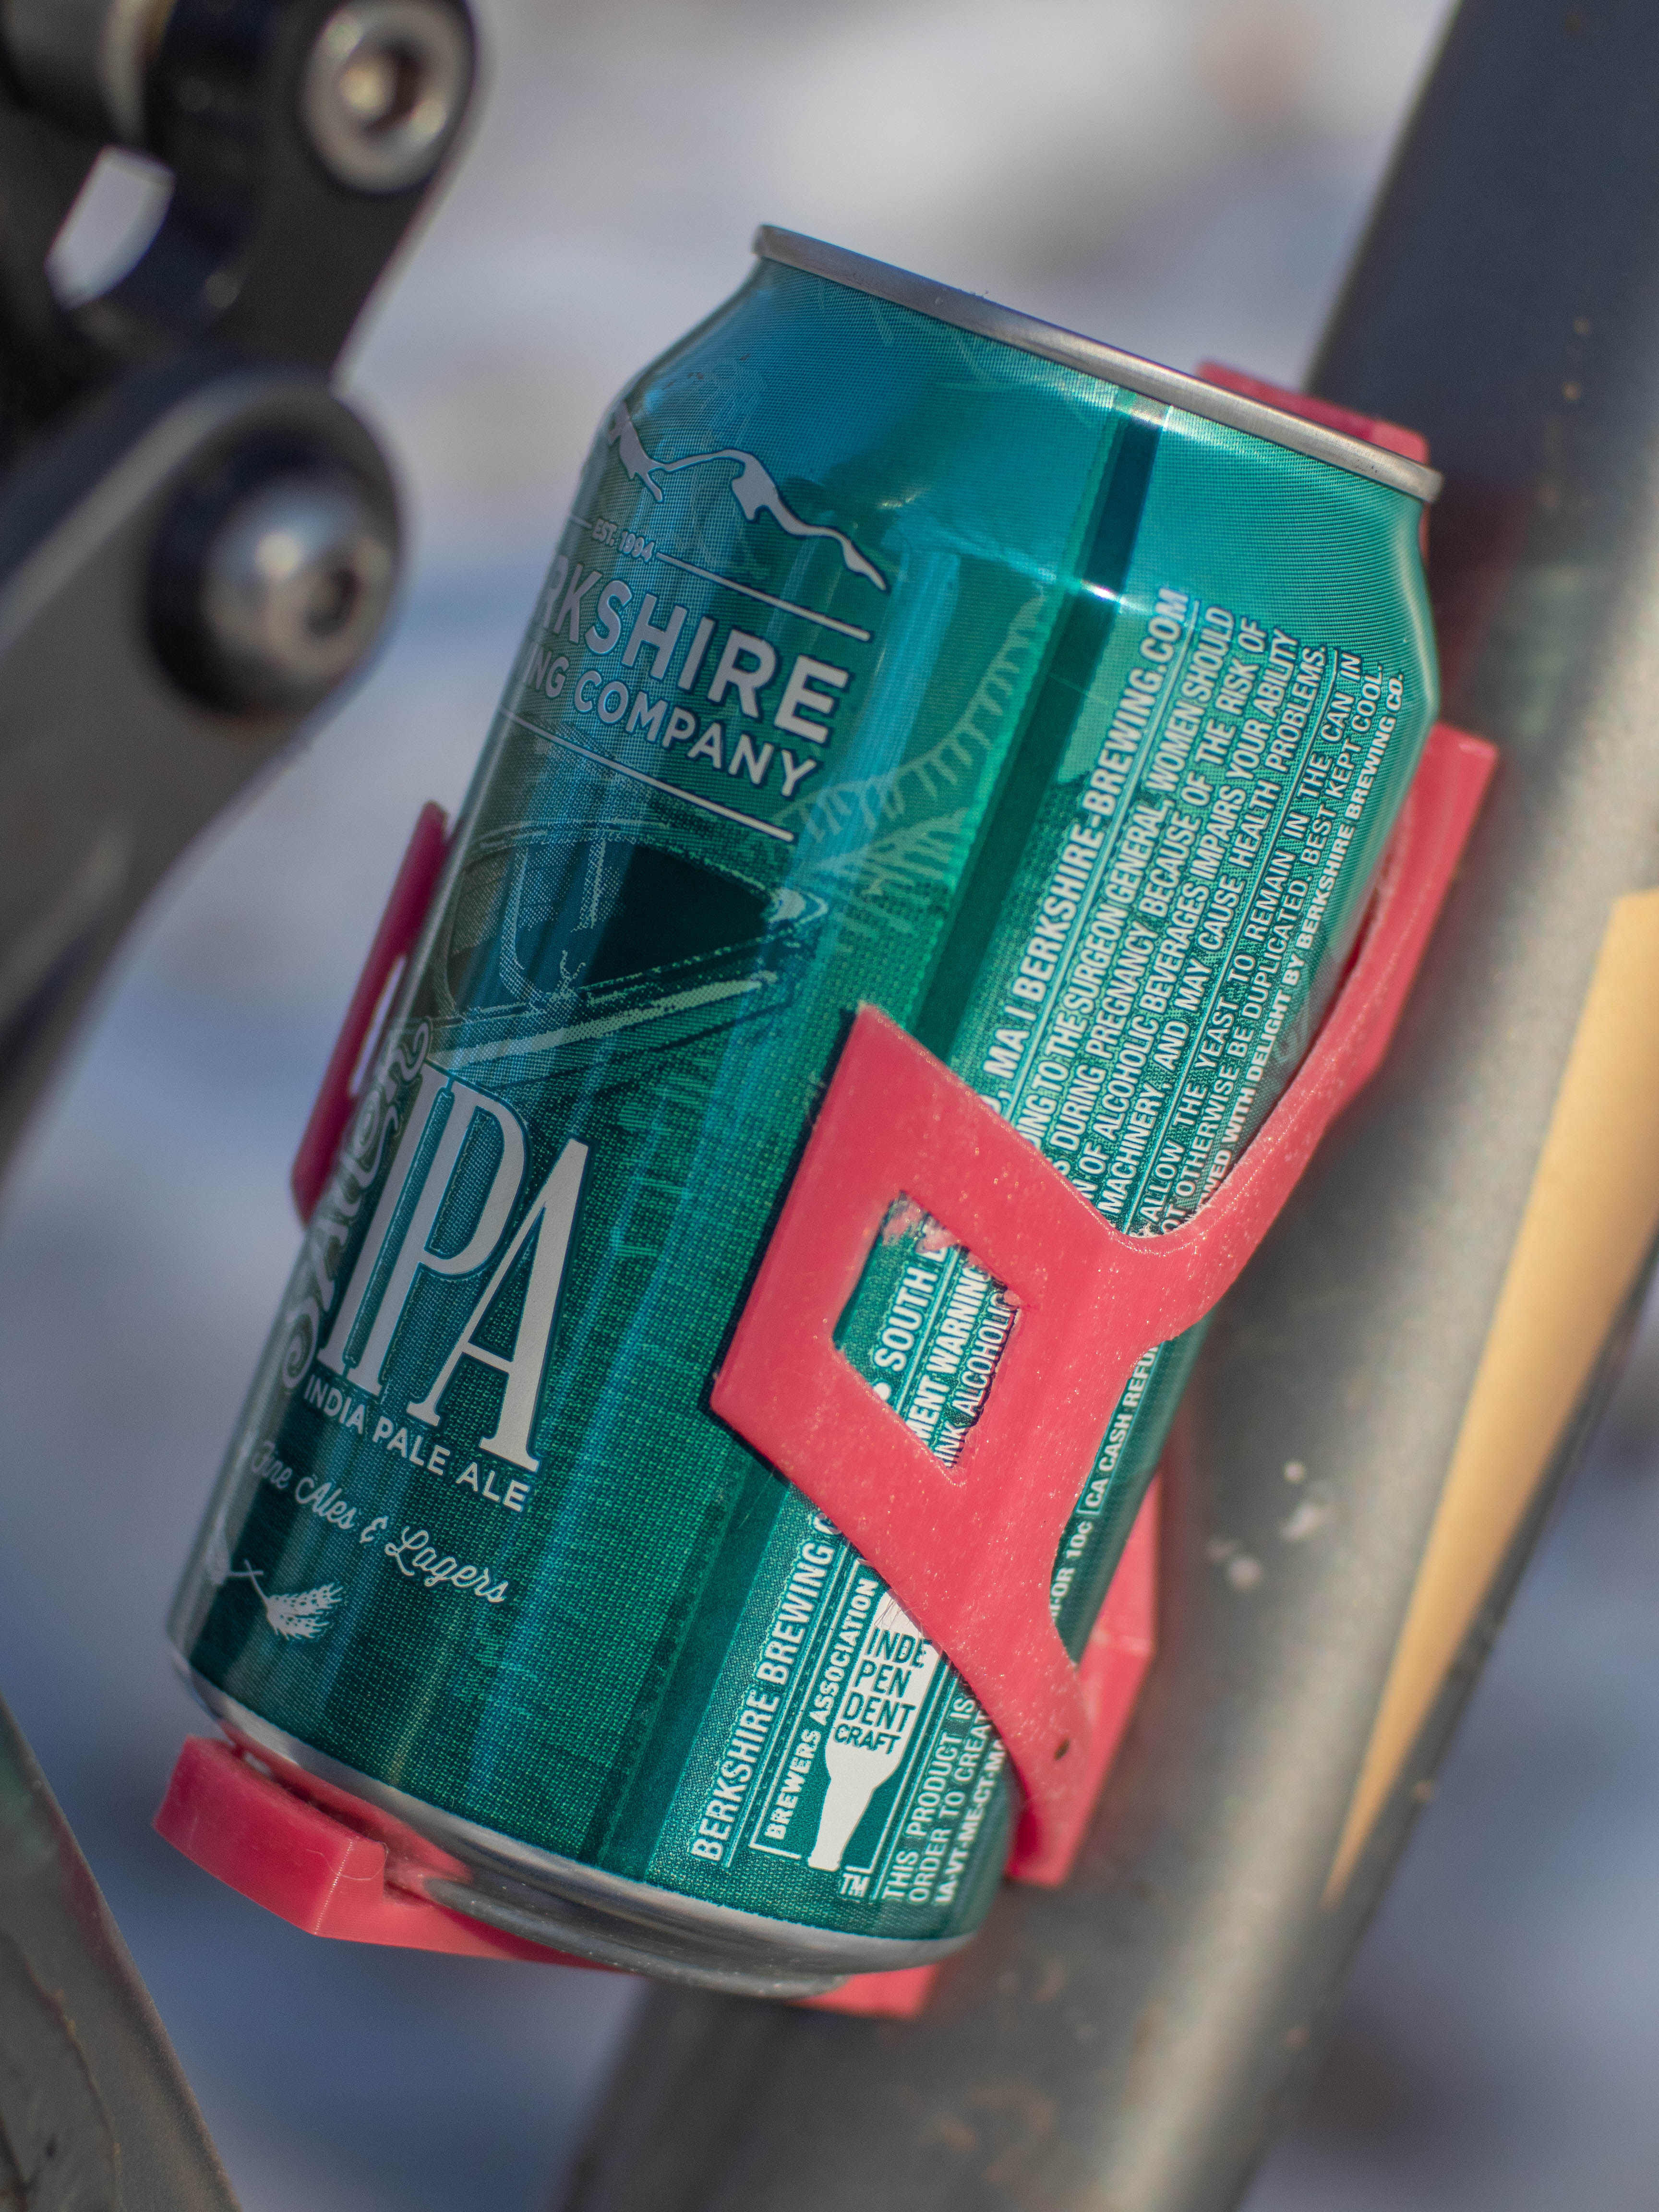
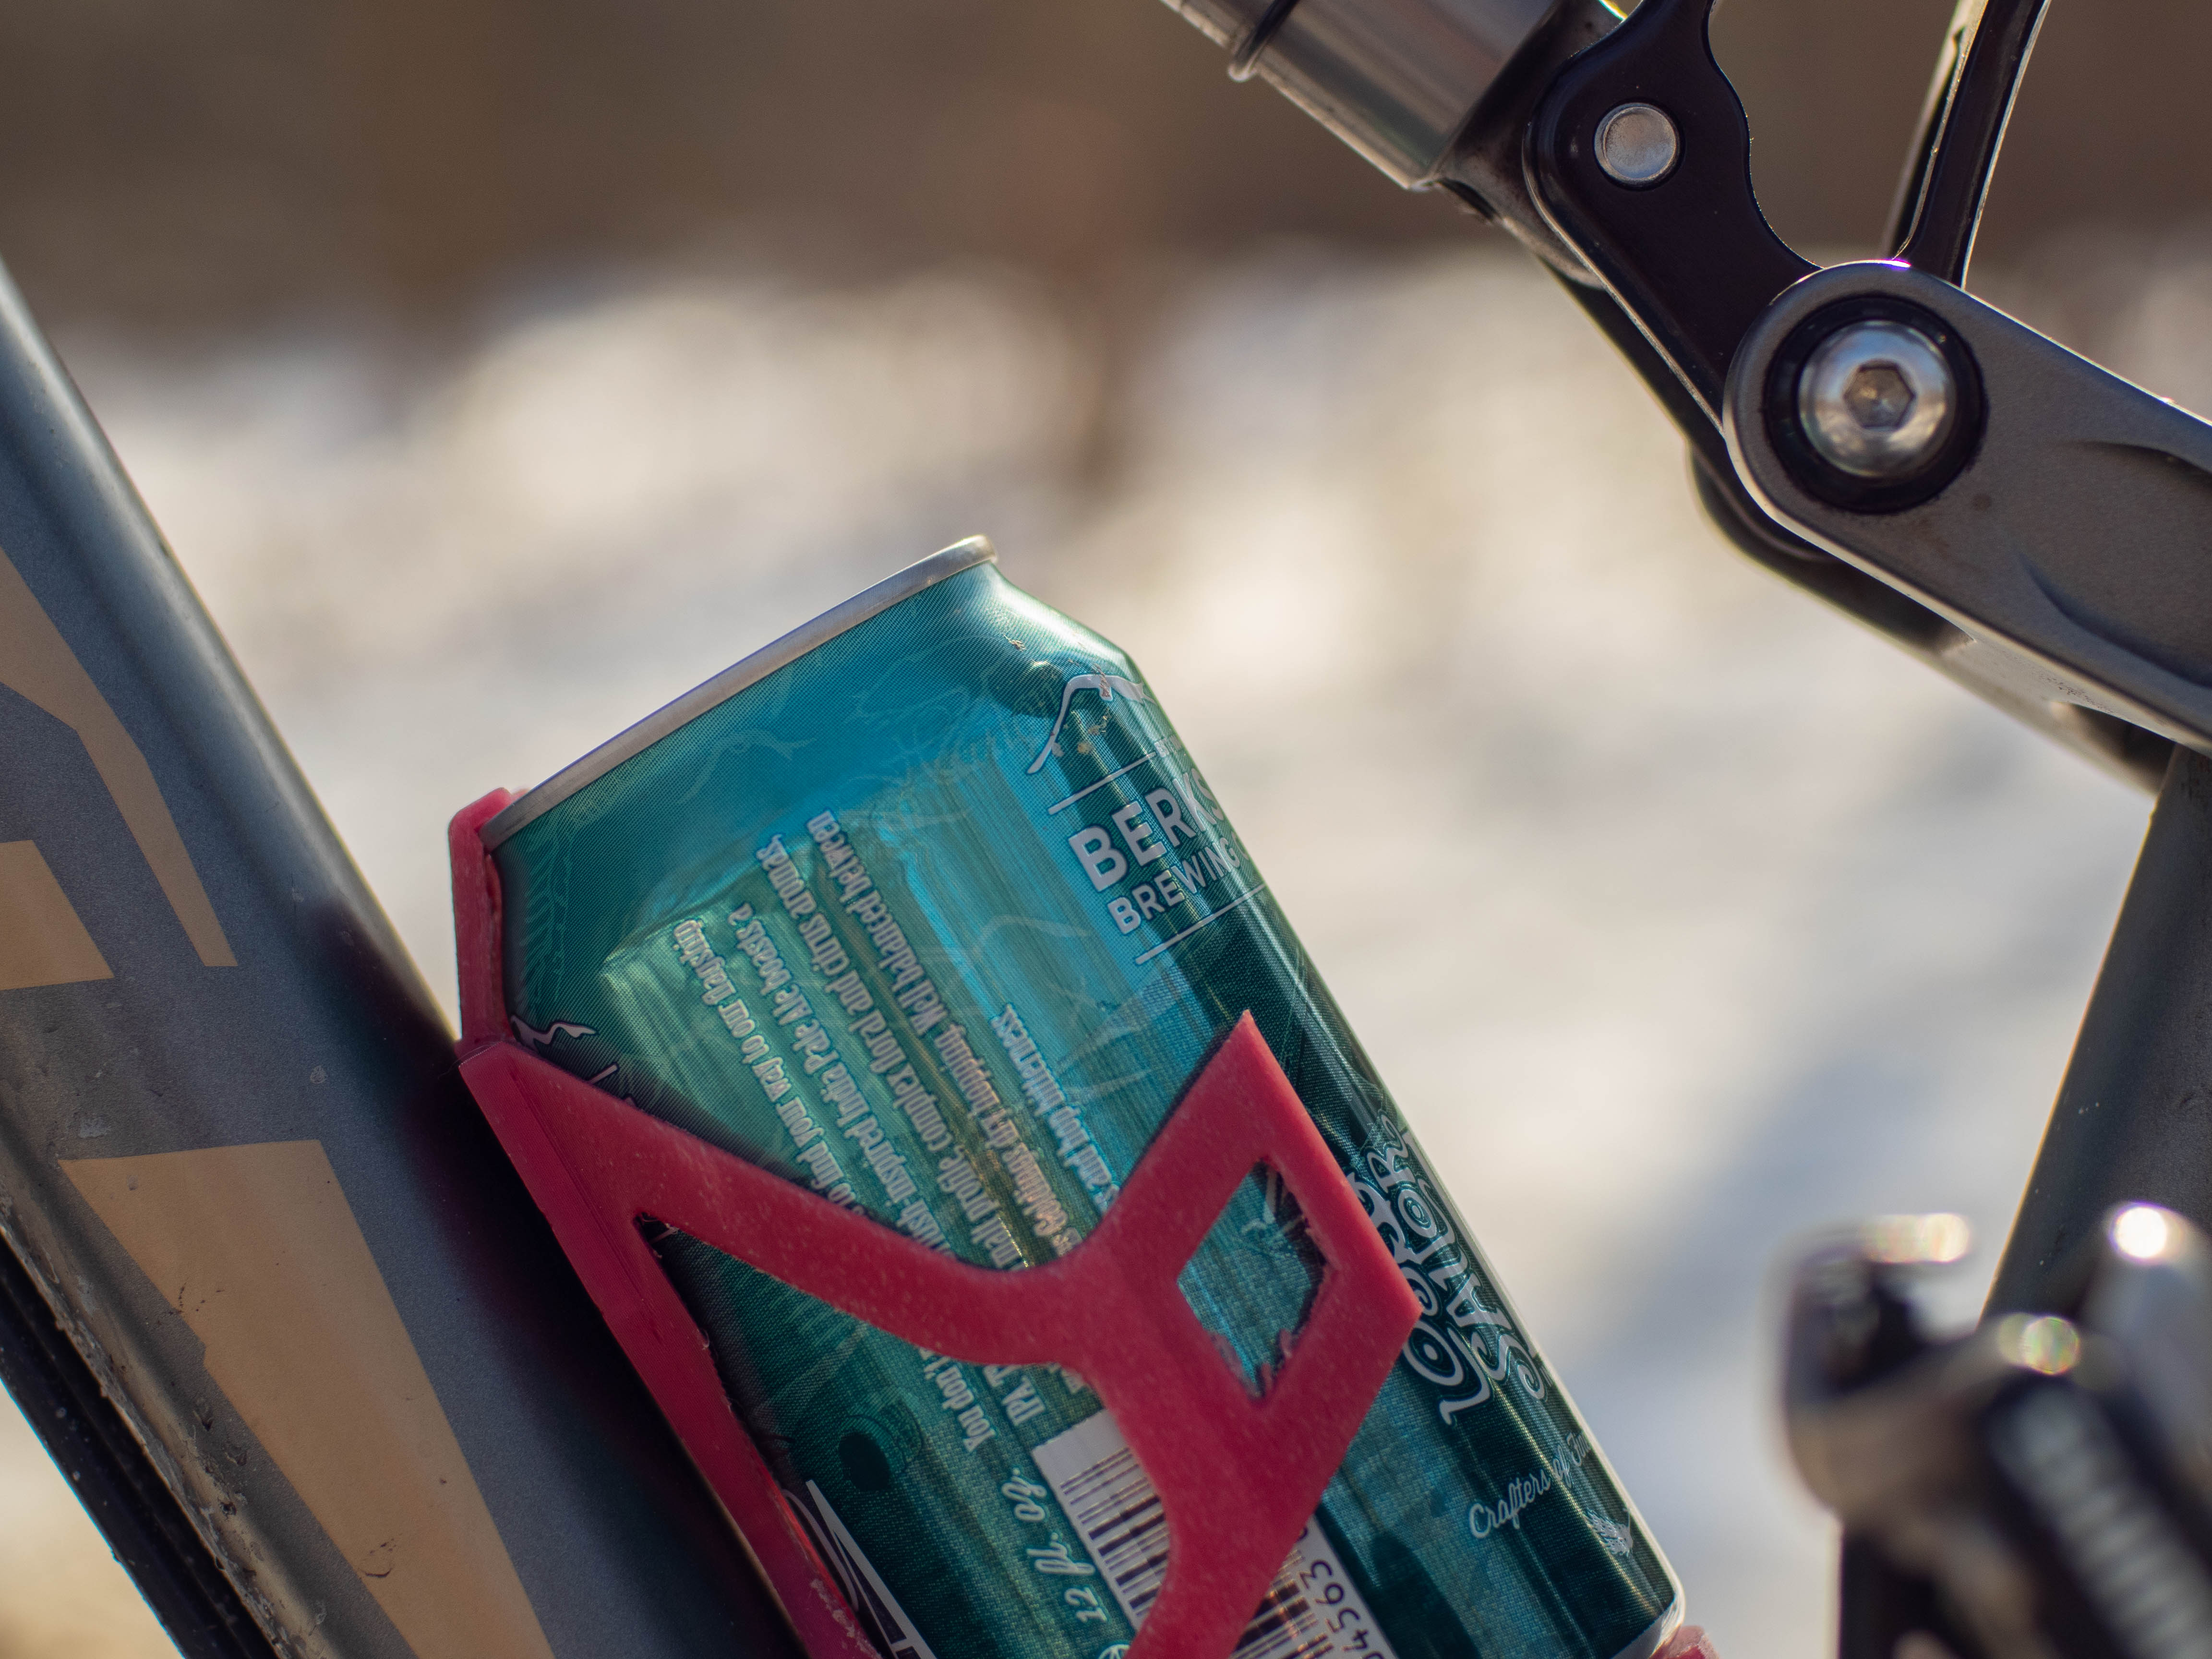
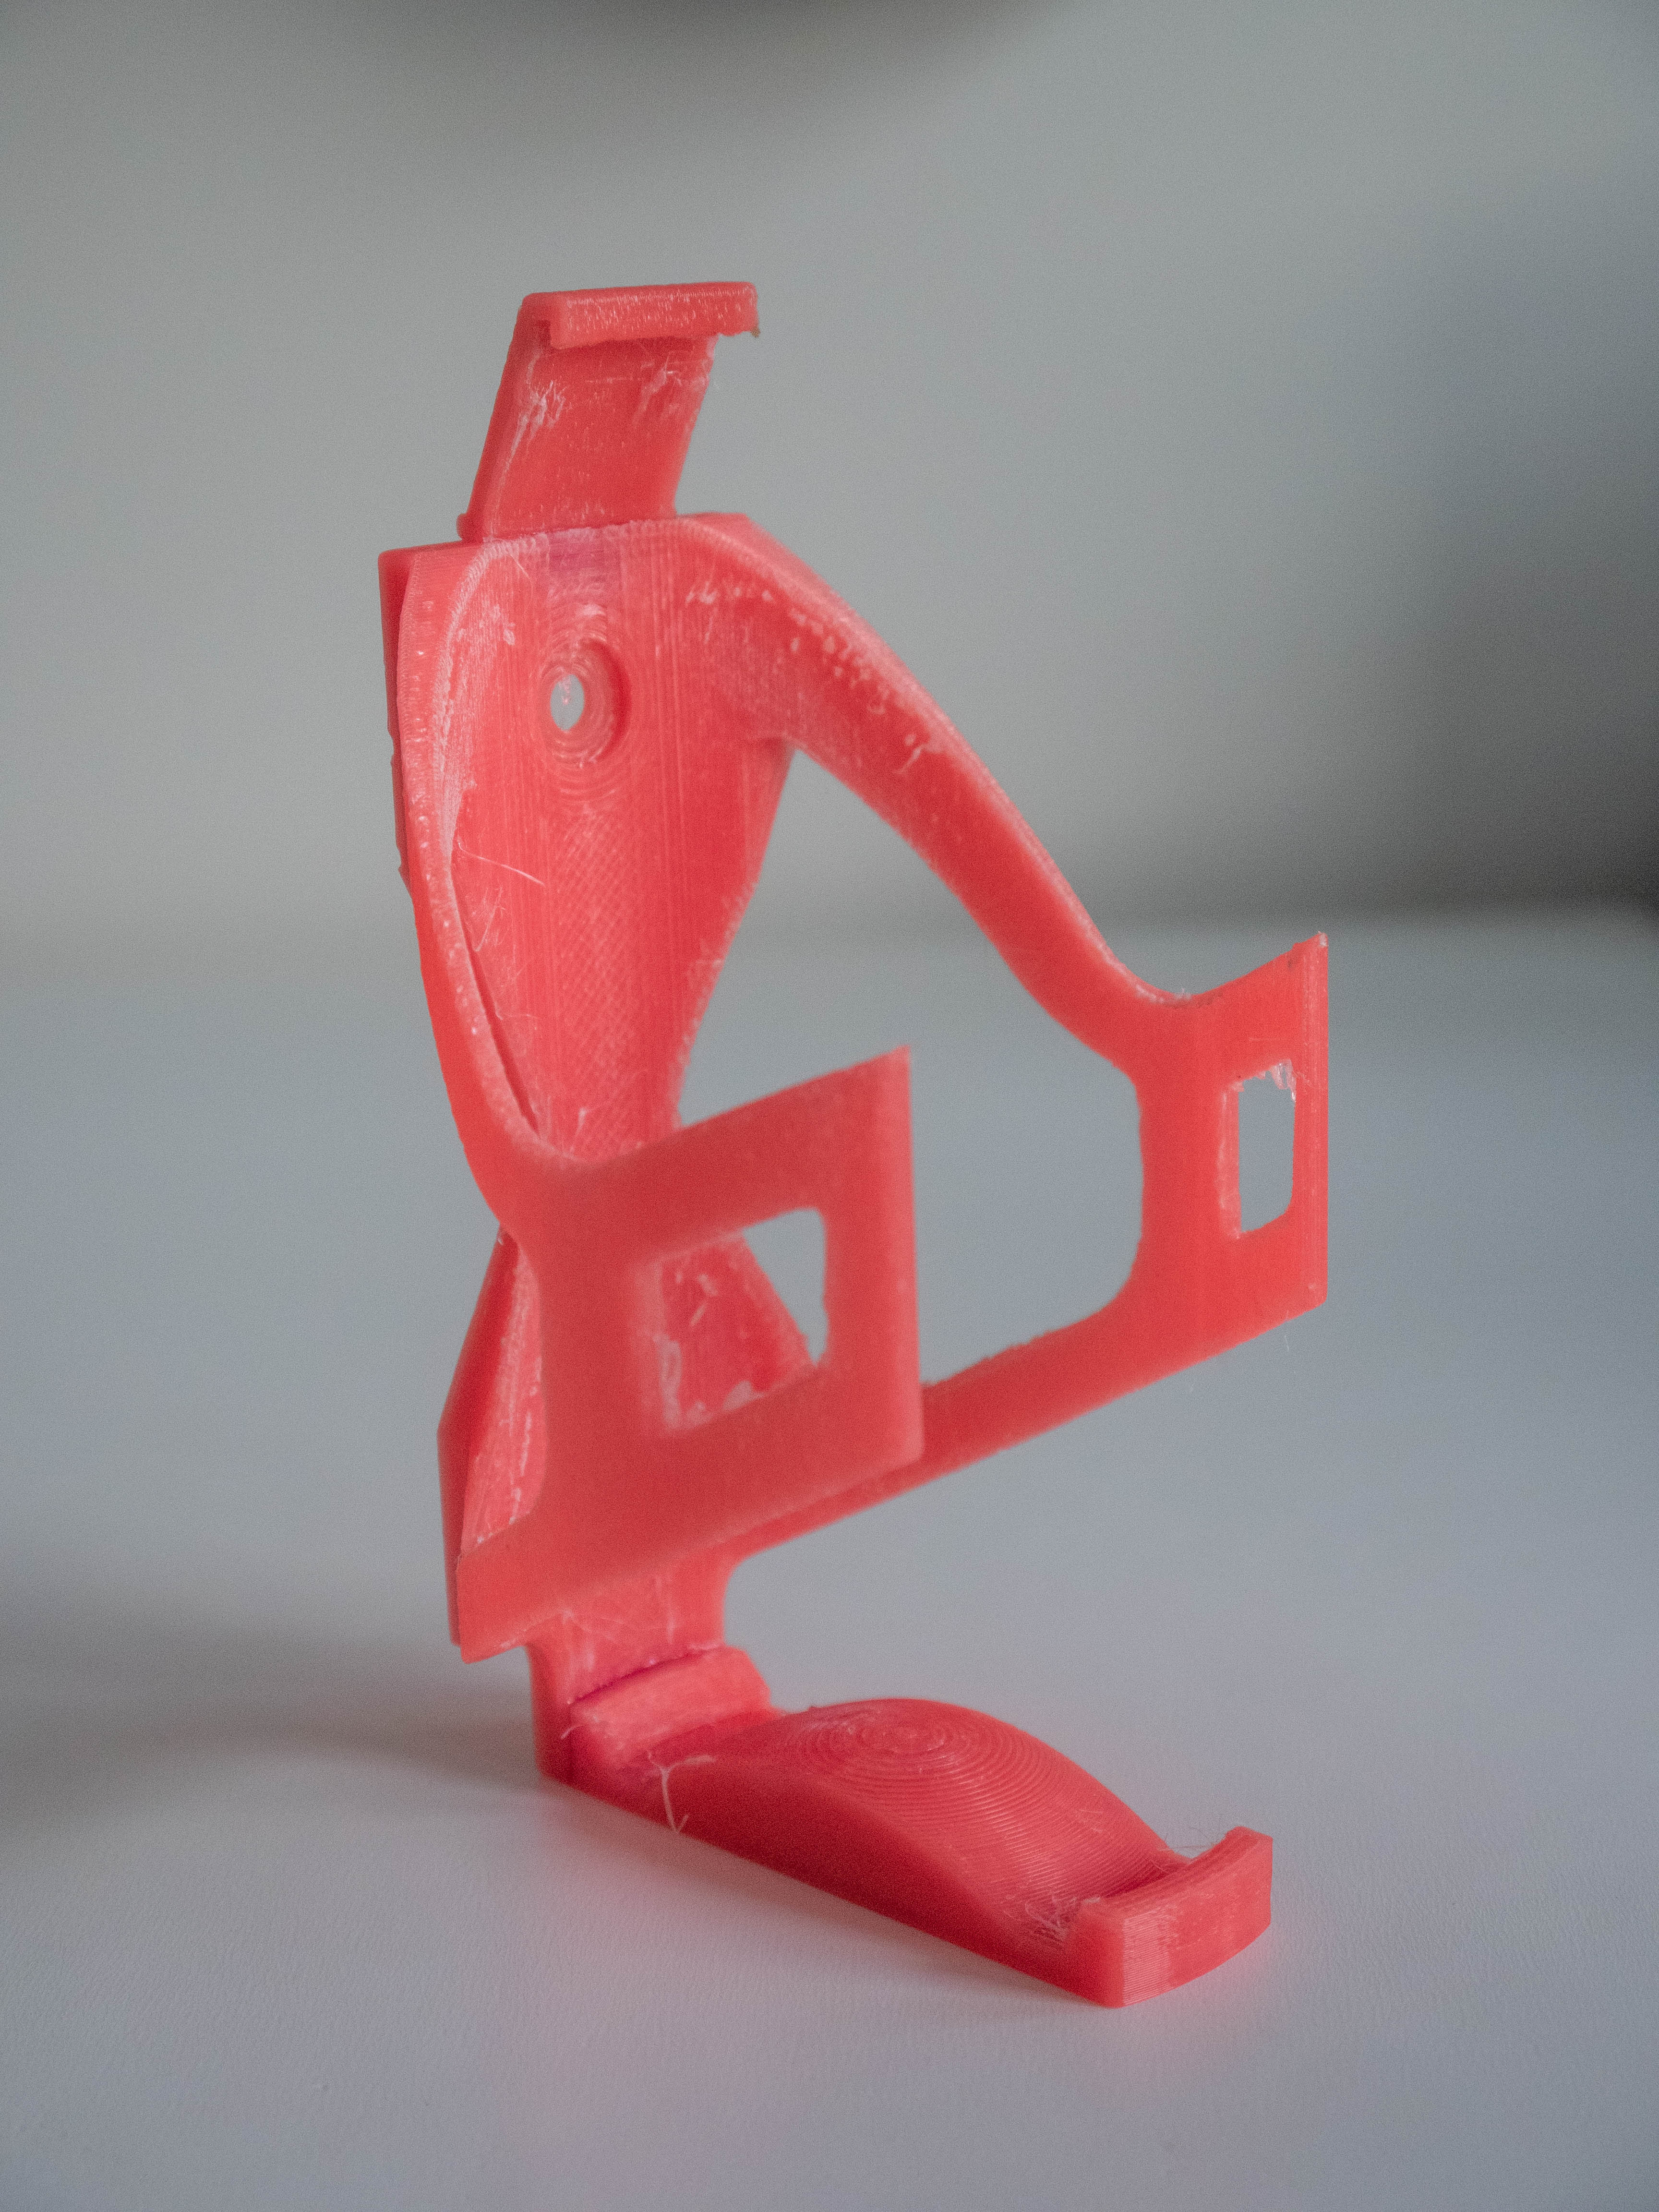
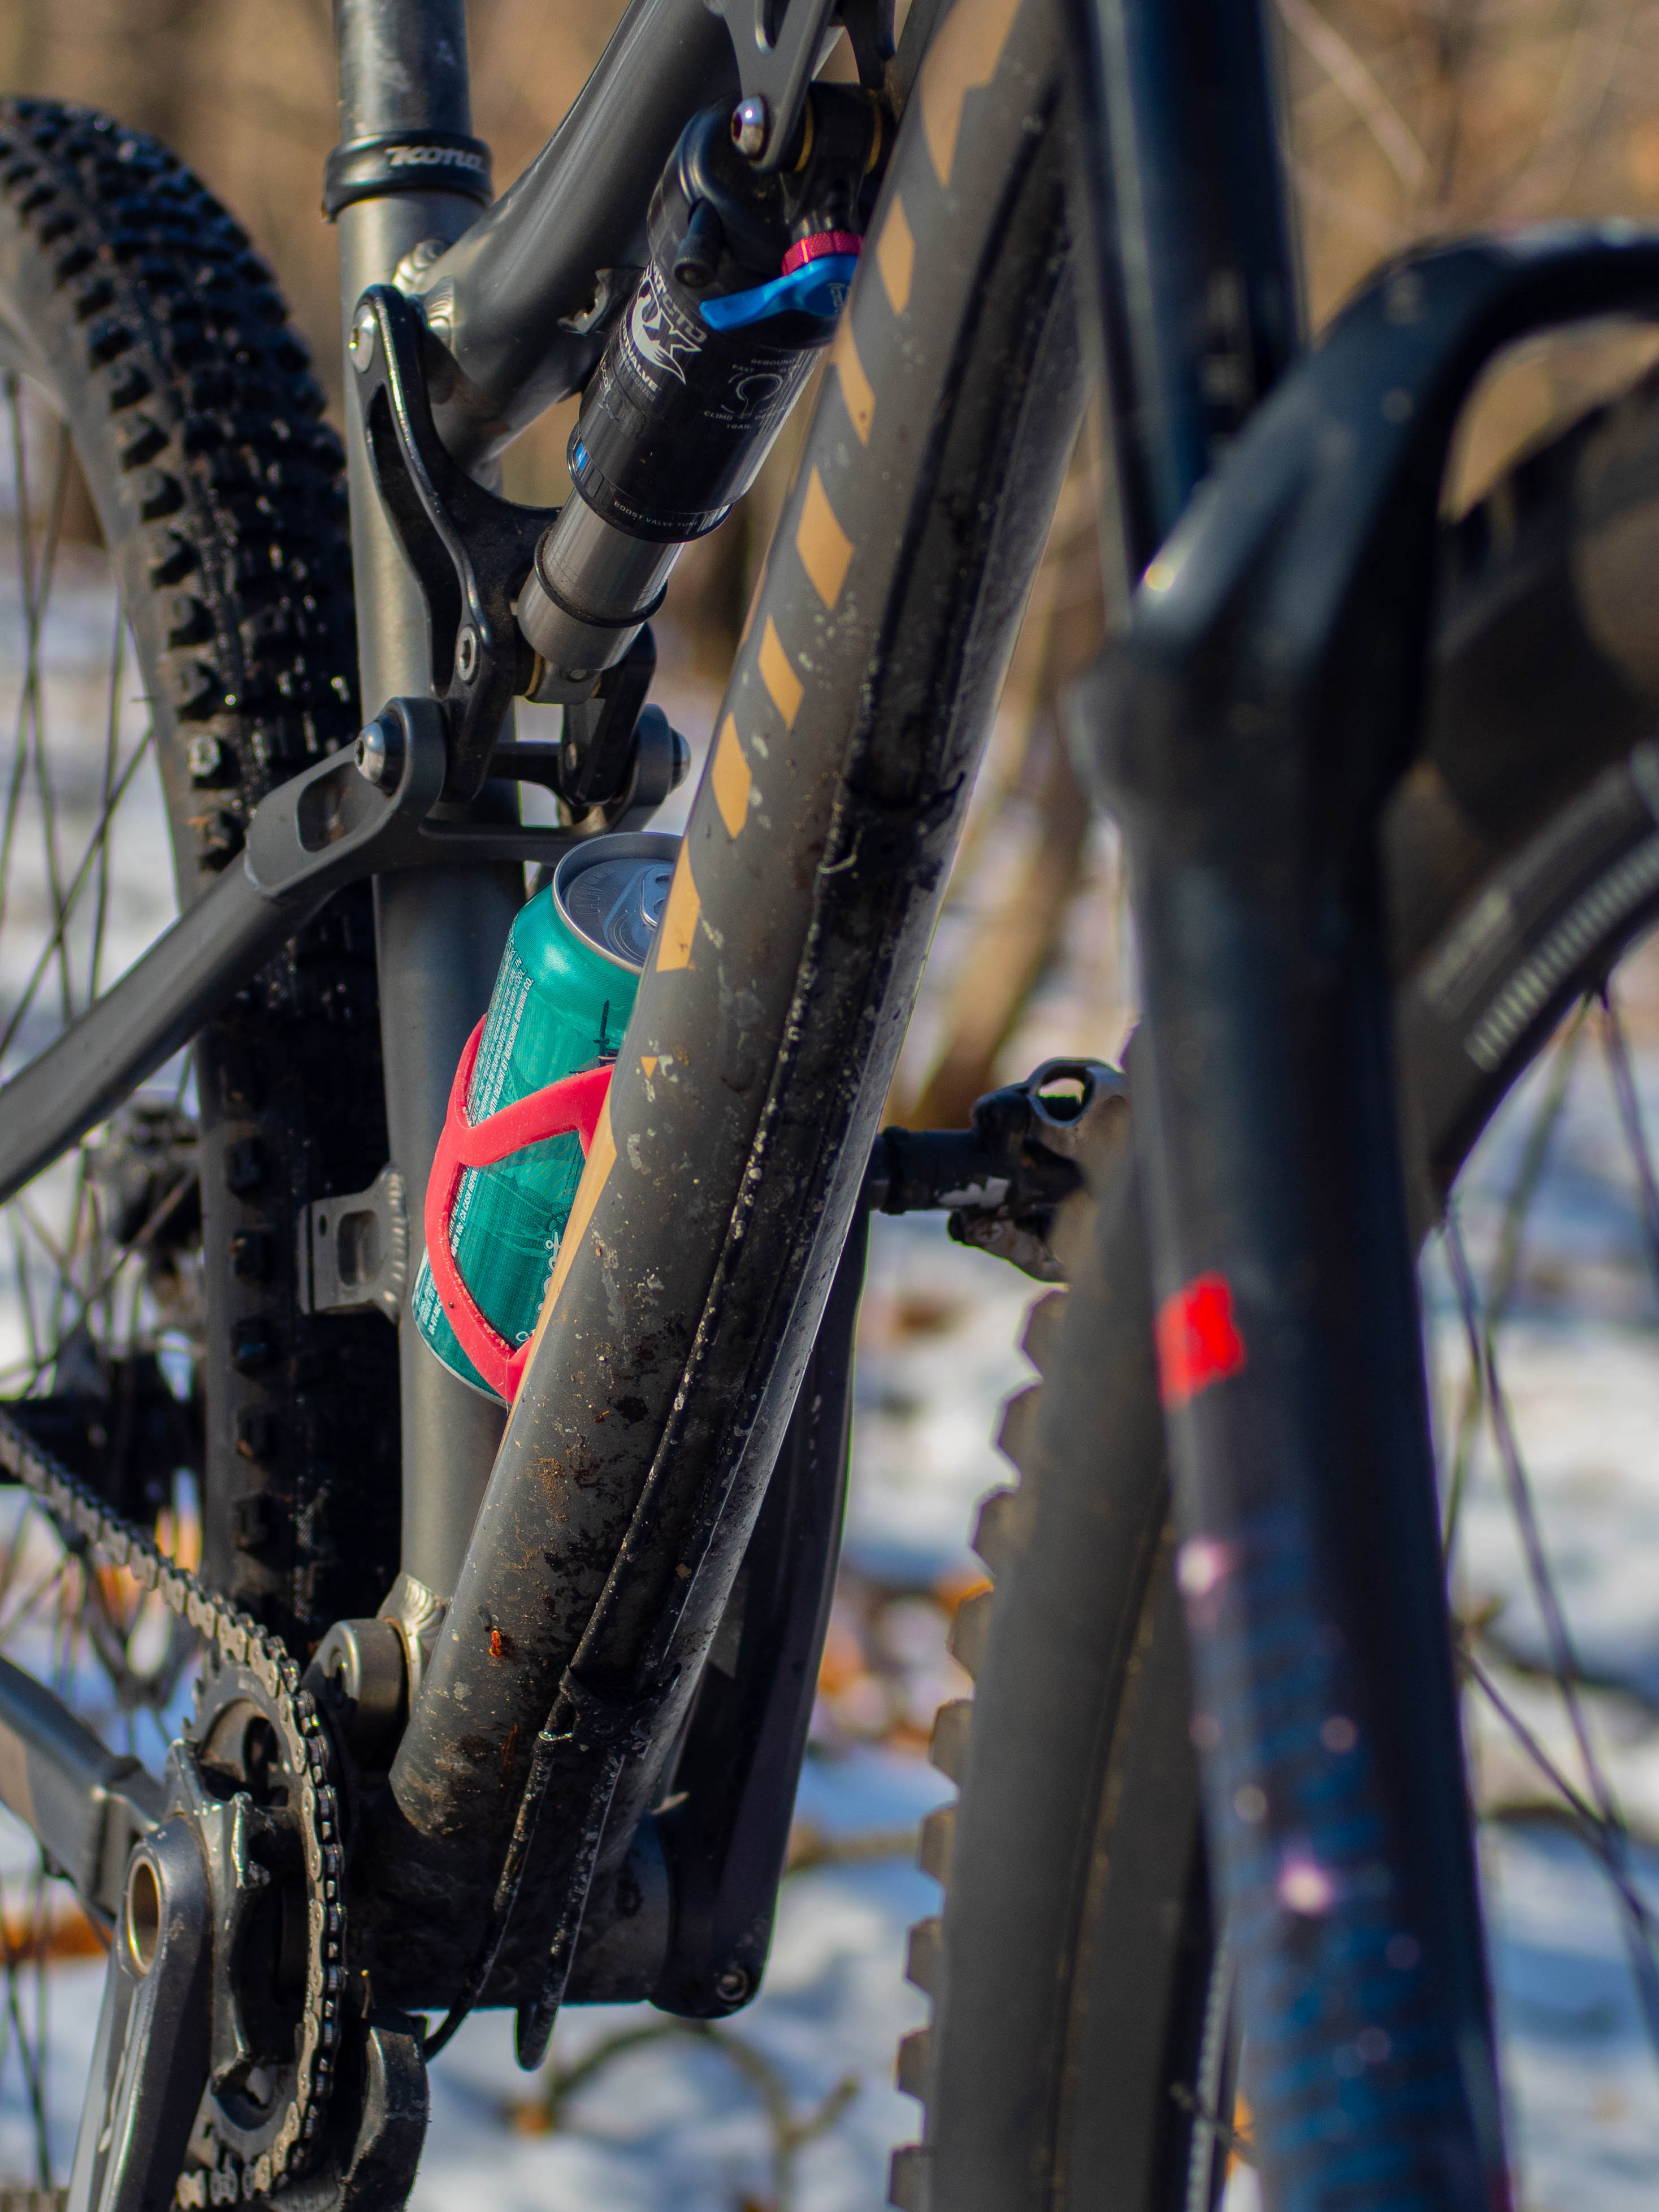
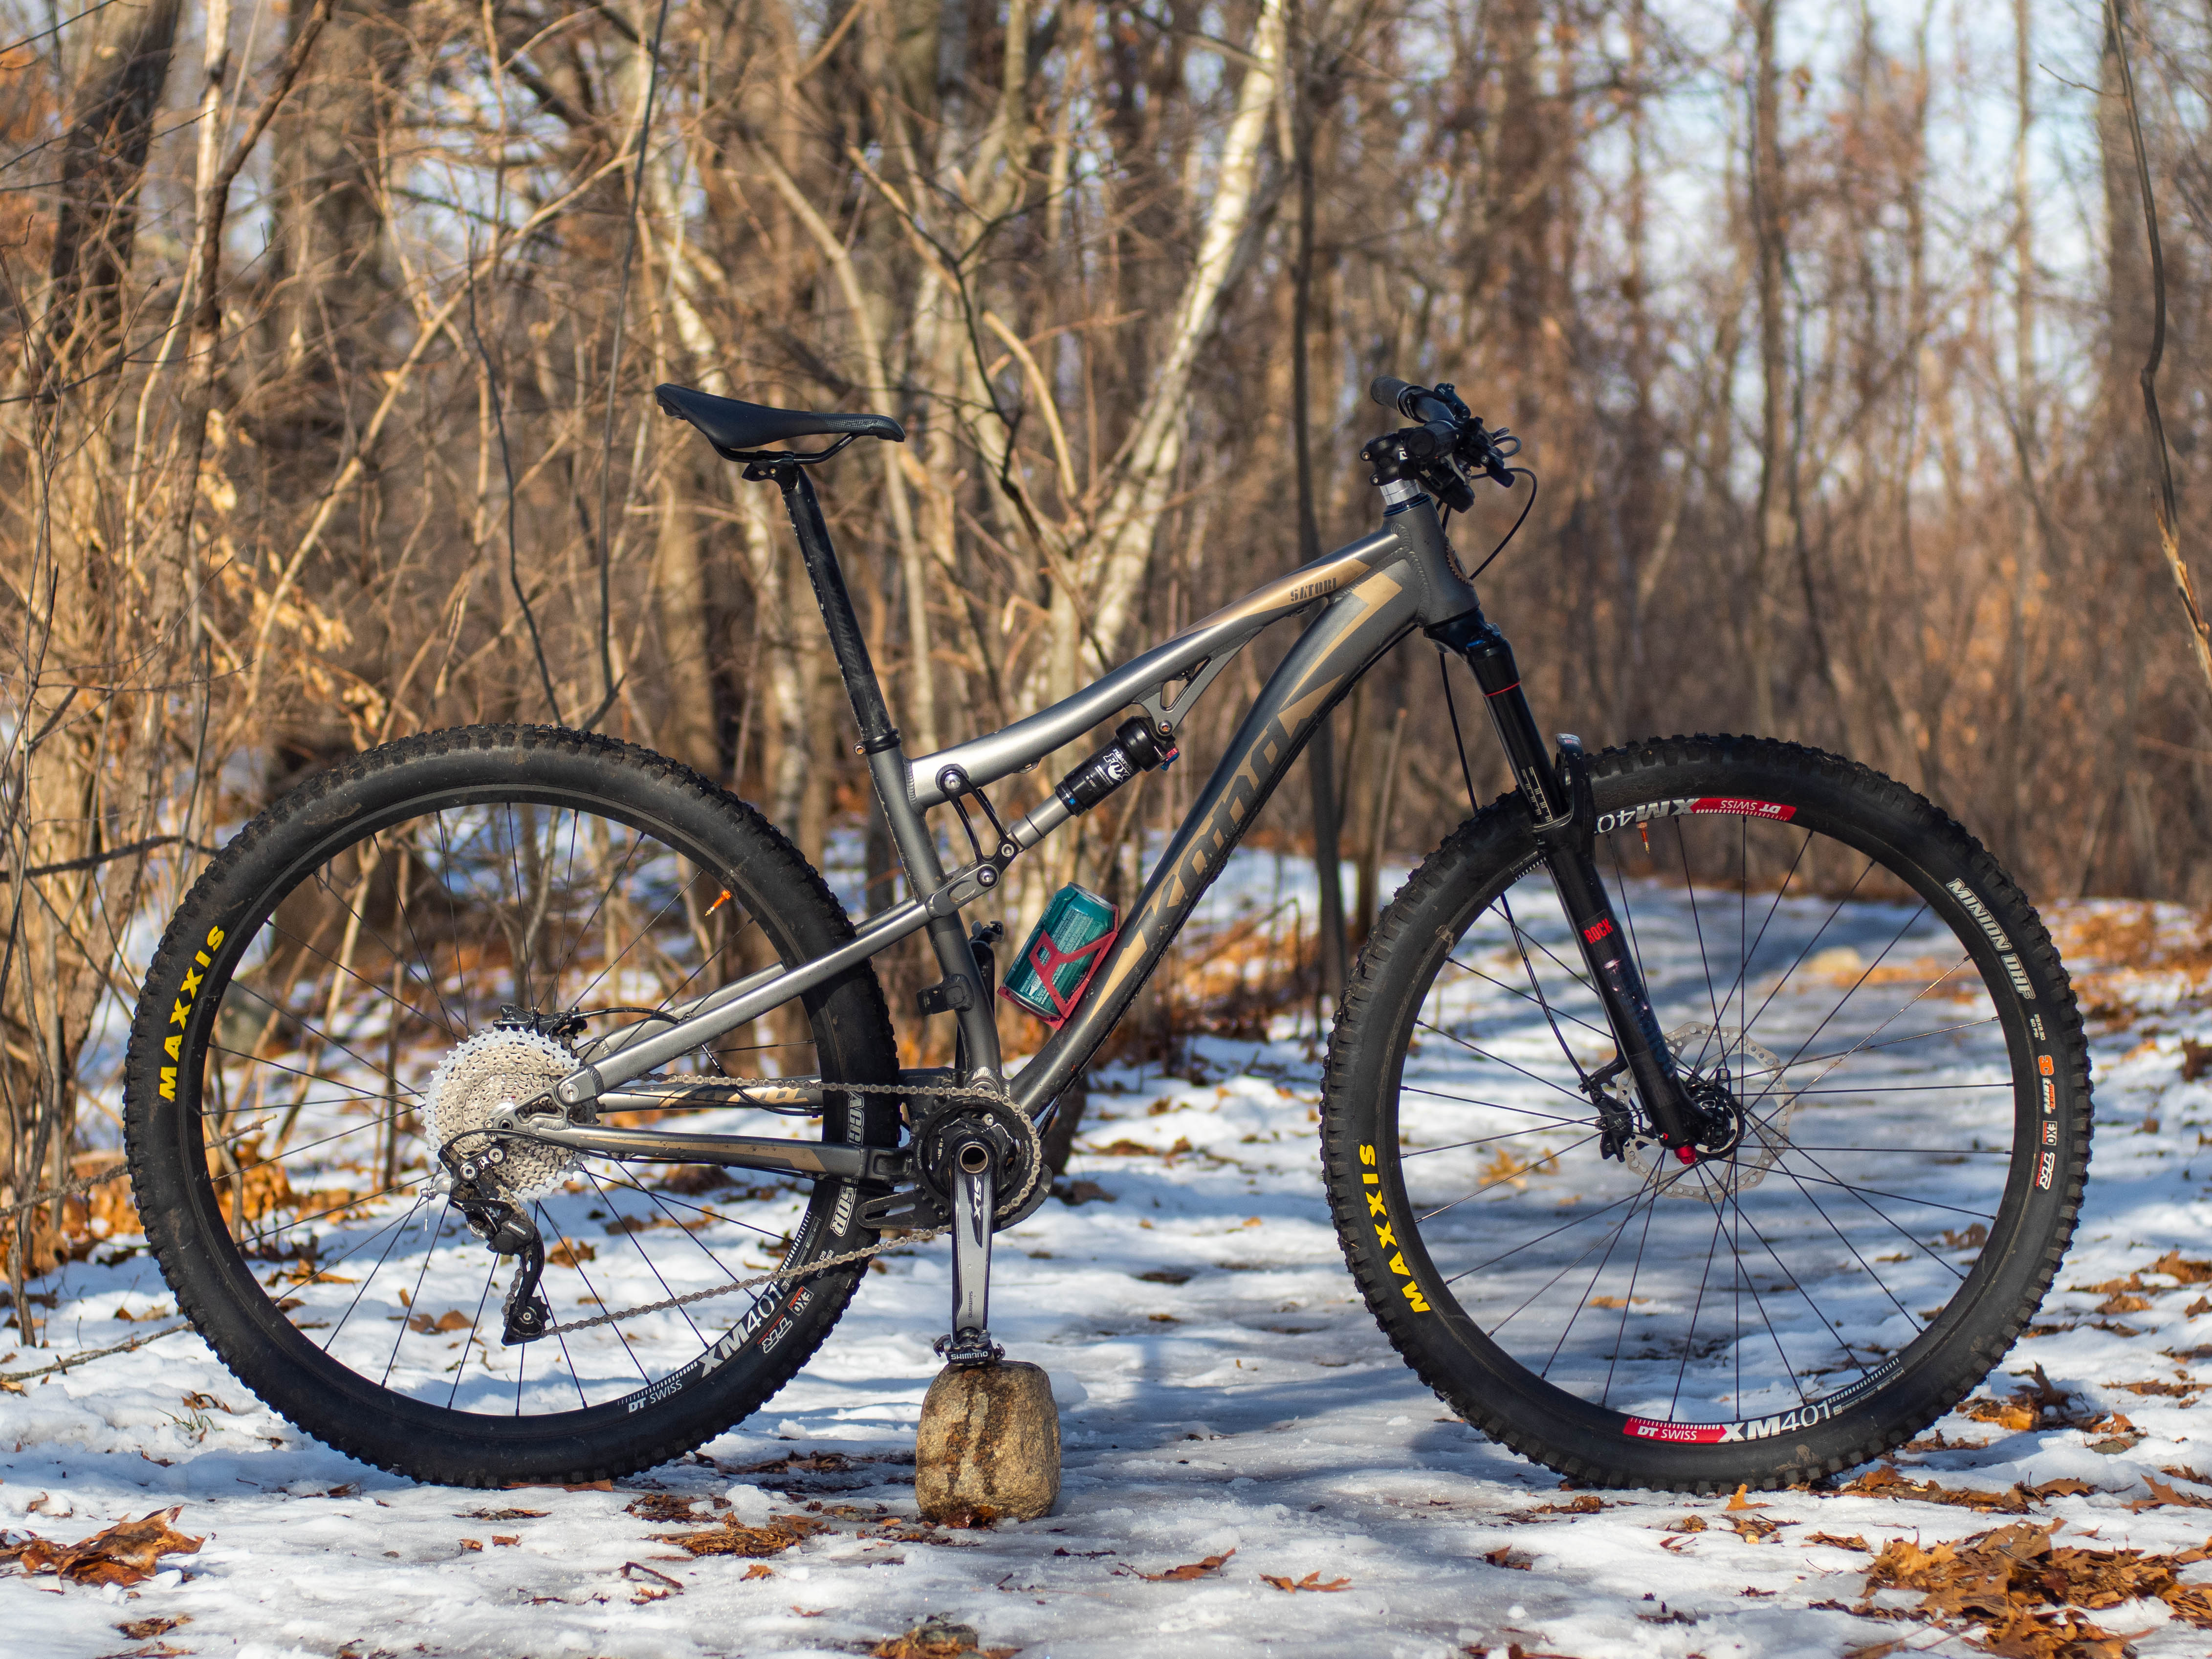
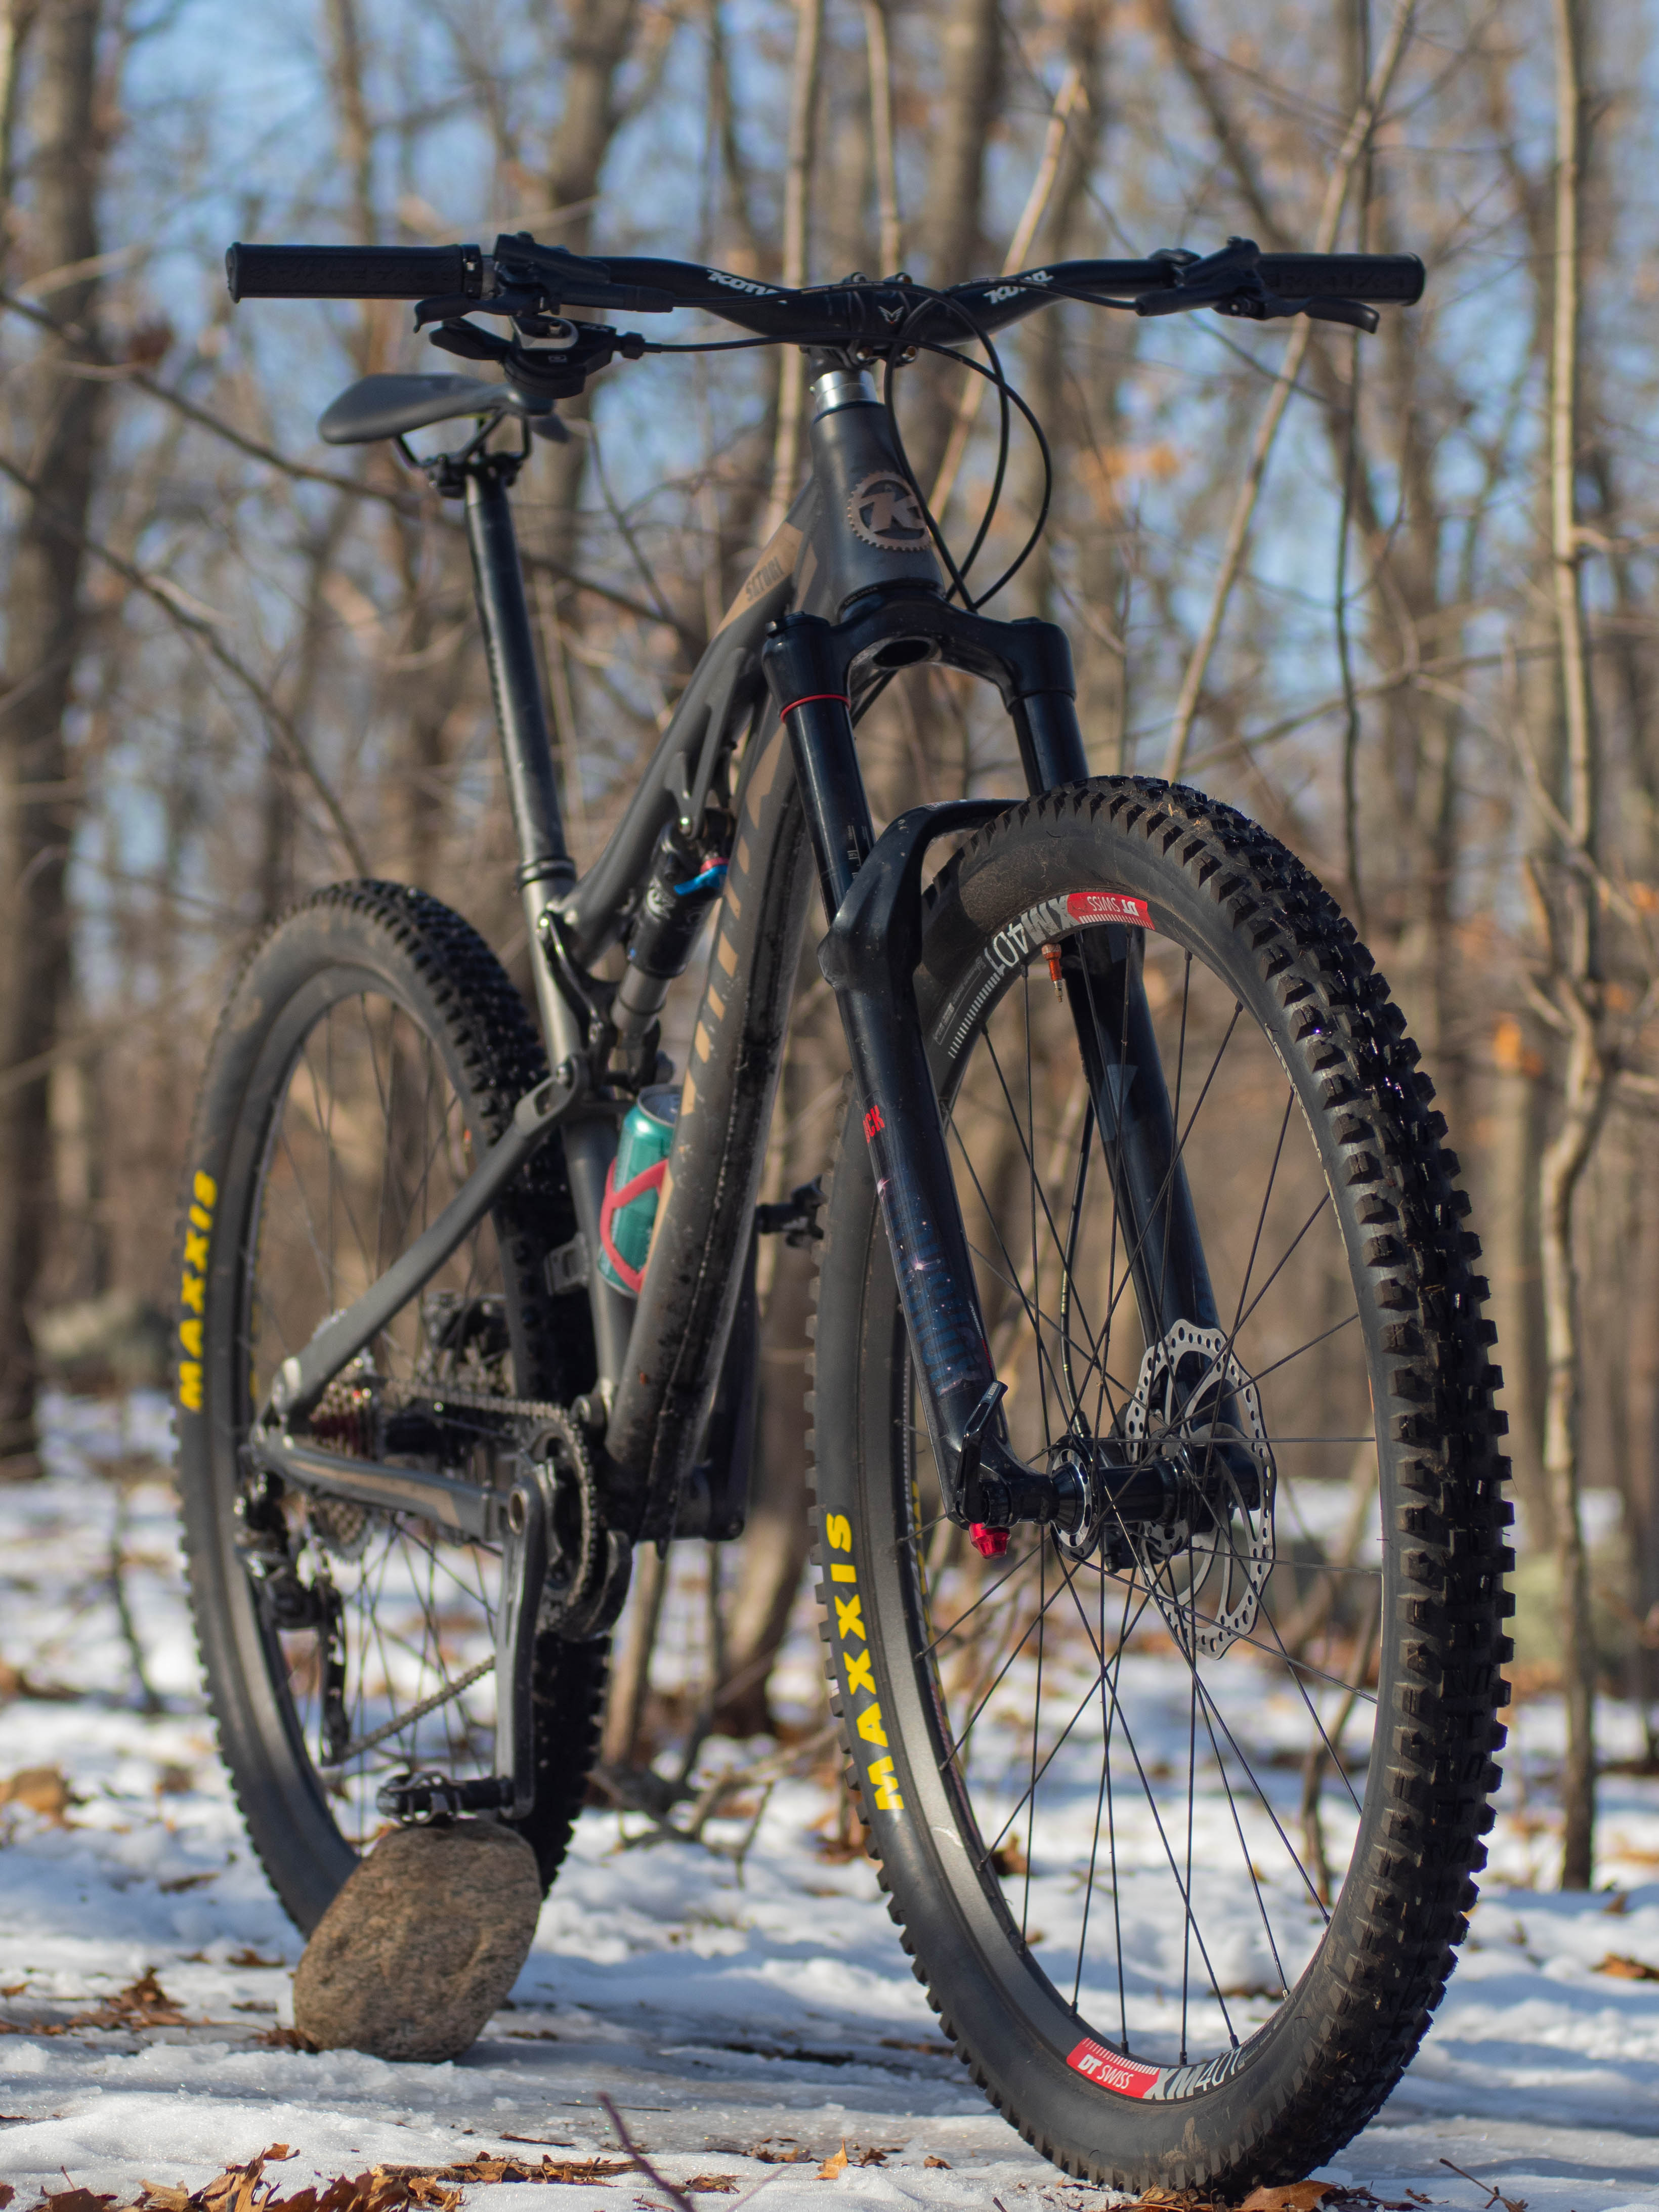
I recently built a mountain bike, and promptly discovered that although riding a mountain bike is very fun, I am very bad at it. Fortunately, I am a woman of great ideas, and I realized that I could become better at mountain biking if I could easily carry delicious canned beverages with me. Unforunately, these canned beverages are too small to fit inside a standard bottle cage. Enter the Beer Can Express, the first (that I can tell) bottle cage designed specifically to fully secure a 12oz can.
The Beer Can Express is a 3D-printed bottle cage, available on Thingiverse. It is designed to be printed in 3 parts and assembled using cyanoacrylate. The design is a work-in-progress. If you choose to reproduce it and it breaks, it’s not my fault. If you choose to reproduce it and you crash your bike, it’s also not my fault.
Below is a self-indulgent gallery of the Beer Can Express (v1) on the mountain bike I built this fall. Scroll past it if you’d like to read more of my thoughts building this thing!
Development
CAD
I used AutoDesk Fusion 360 as my CAD program of choice. I found it to be intuitive and easy to use. Just kidding. It took me a while to get started, but I eventually achieved a level of proficiency one level above “laughable.”
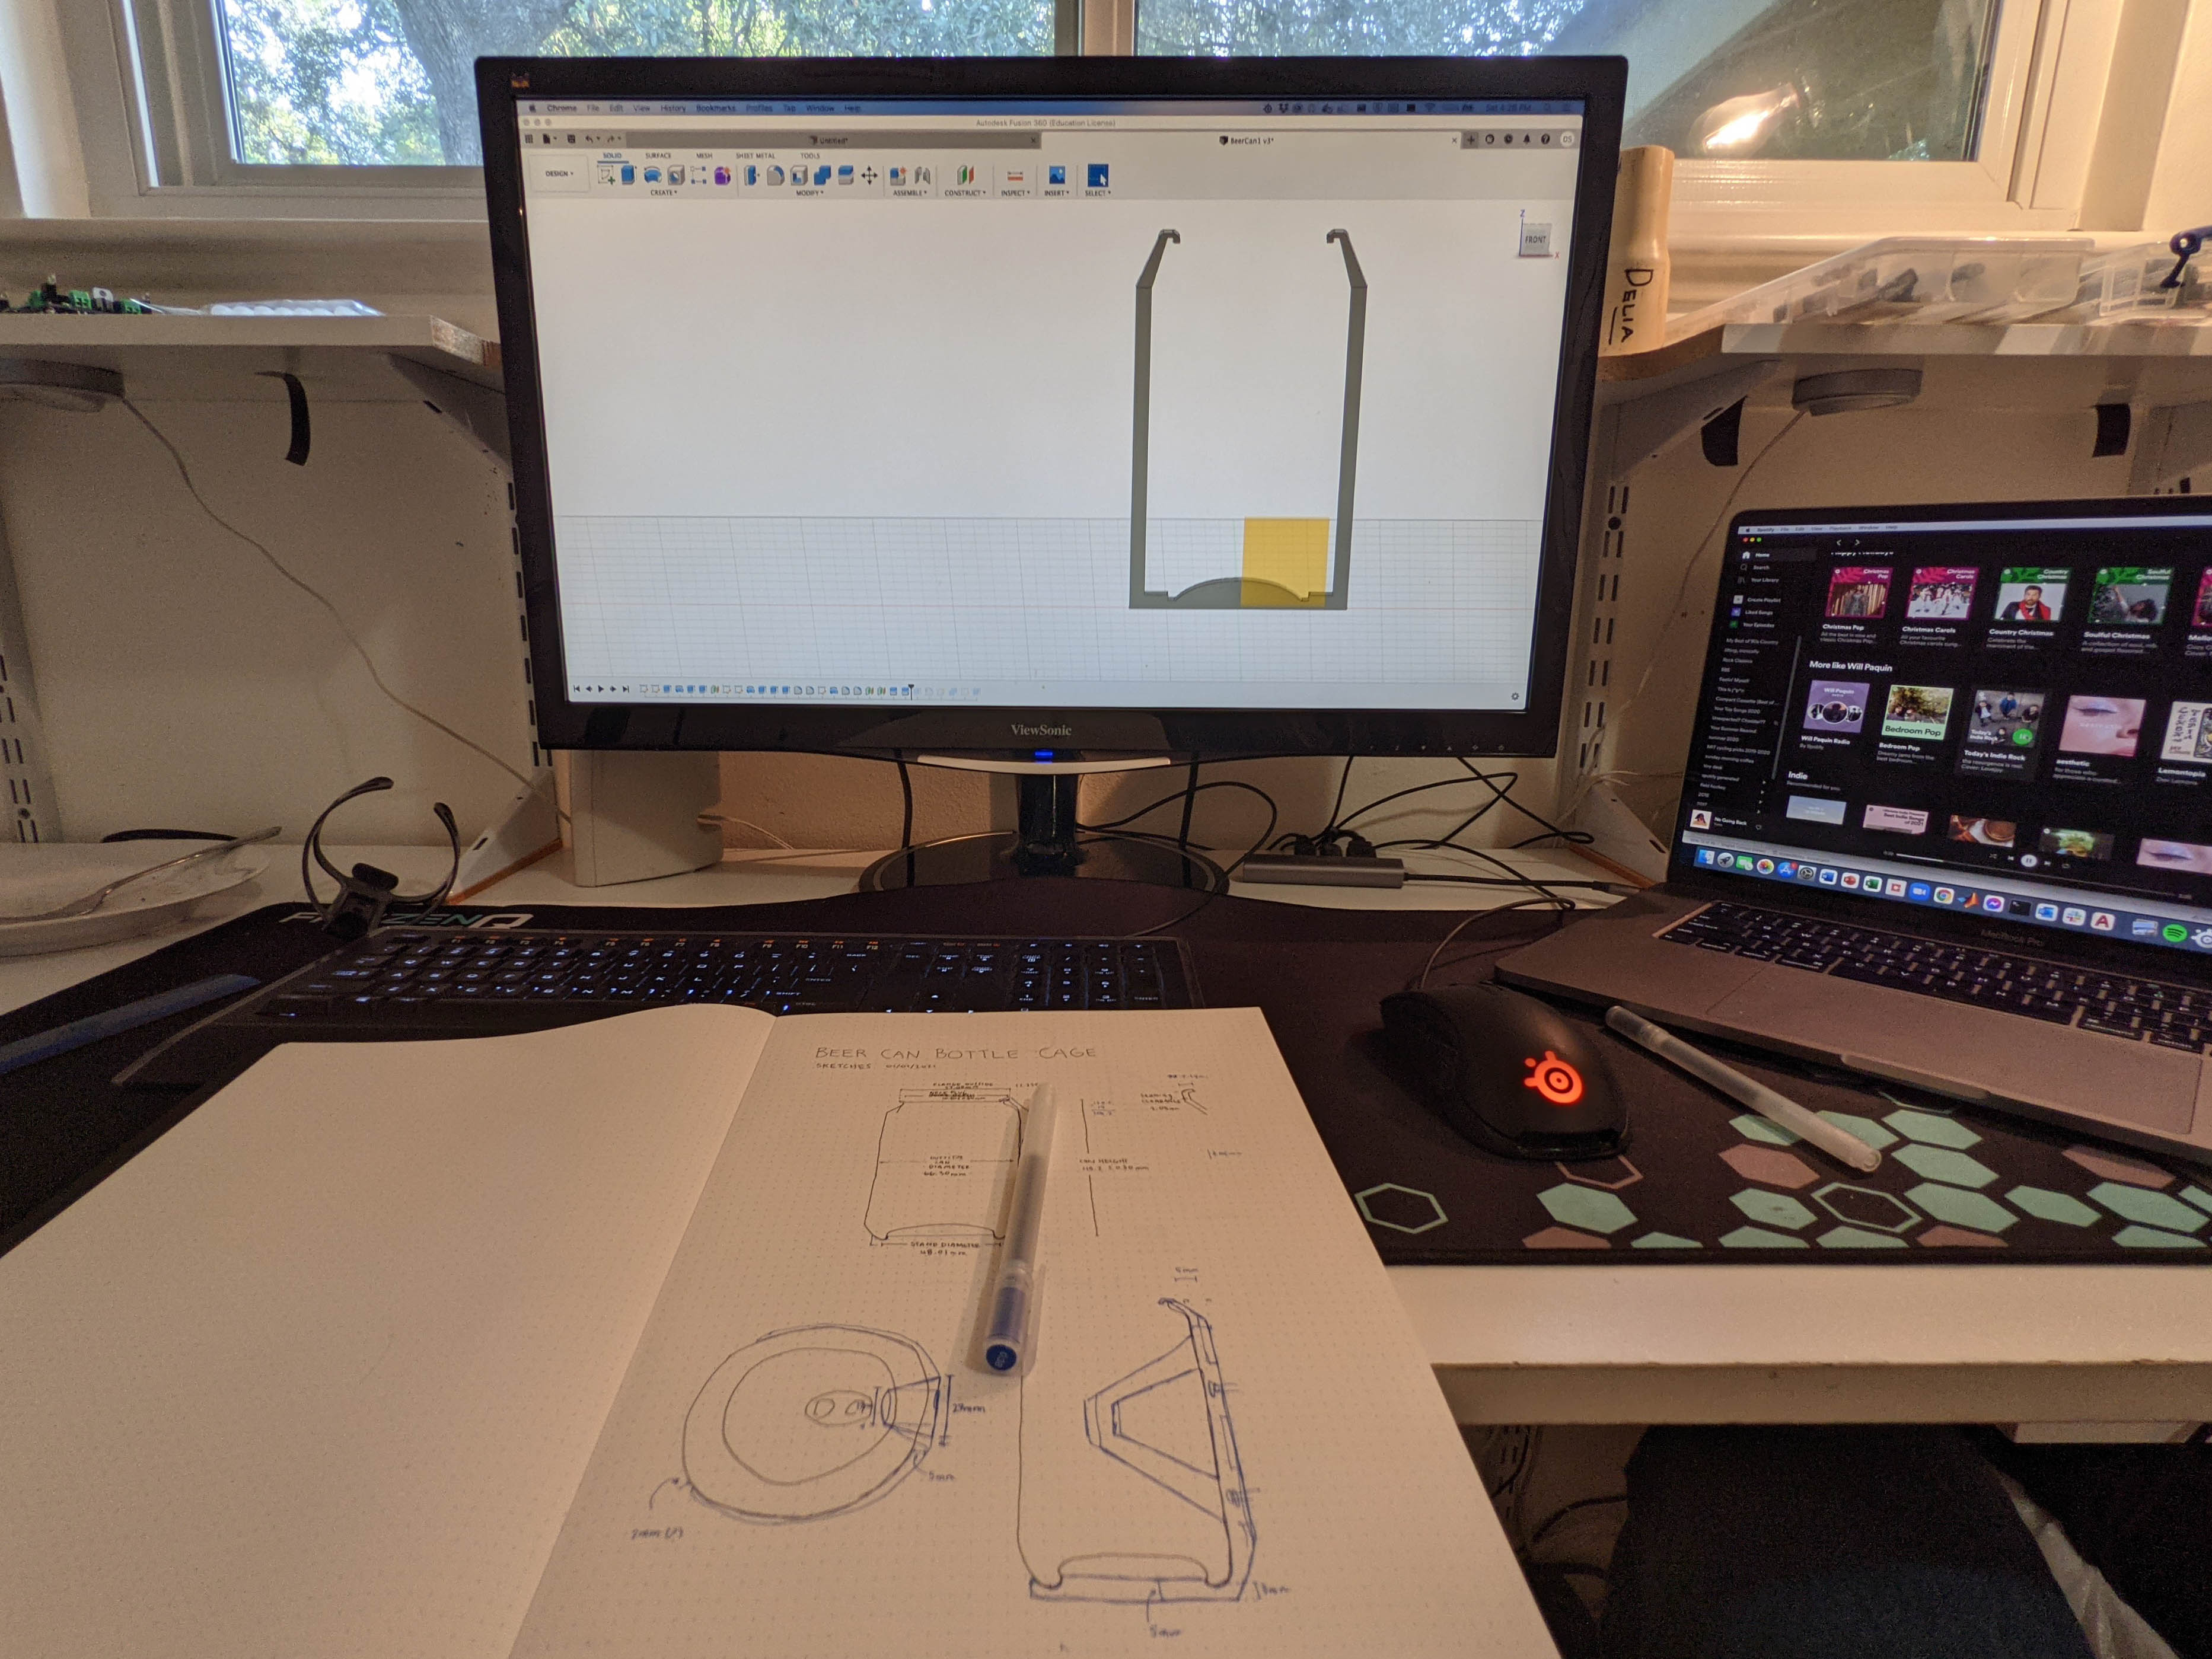
I drew inspiration from PretEnGineering’s Bike Bottle Cage (stl) and various beer can handles for my design. While doing this writeup, I discovered that someone had created a parameterized sideloading boddle cage, which should also work on a can, though I believe my top-secure design is better for mountain biking. The can is intended to snap into the top of the design, minimizing the amount of flex required from the PLA to secure the can.
Printing
I created several smaller versions of the print for design and testing. I chose to print the arm/baseplate (part that lies against the bike), top, and base separate for testing–it was a little quicker to print them separately rather than wasting PLA on designs that didn’t work.
My first revision was entirely the wrong size. It turns out that American cans are different sizes than cans from other countries, and I was pulling dimensions off a Chinese can manufacturer site. Once I secured a Dr. Pepper can and a set of digital calipers, I was in business.
I used a larger nozzle on the Creality Ender 3 printer. This was nice because it printed things quickly, but not as nice because it made “stringy” final products. If I had more time with the 3D printed (I had to go back to college),I would probably do a slower, nicer print with a smaller nozzle. That being said, a little work with a cordless Dremel tool took all the strings off my design, and I was pretty impressed with the fidelity and strength of a print that took a little under 2.5 hours to complete.
Throughout the printing process, I relied heavily on help from my little brother who is very smart and knows how to use a 3D printer better than I ever will. I would not have been able to do this as quickly as I was without his advice–he regularly had to remind me that some prints were, in fact, physically impossible to create.
I assembled the pieces of my build in a very professional workspace (on top of a pizza box). I would recommend forming the build around a test can, as some of the tabs aren’t quite long enough. Future revisions of this design will have increased tab lengths.
Riding
As I was doing user-centric design testing (riding my bike) I remembered some of the flaws in my design:
- Cans hold carbonated things. Carbonated things explode when they are shaken (for example, when attached to a bicycle which has found itself in my possession).
- Cans cannot be re-sealed once they are open, so you must drink your beverage of choice all at once to avoid coating your beautiful bike with your drink.
However, I was also reminded of some of the advantages of my design:
- It is ridiculous.
Future Work
The problem with ideation is that it is hard to stop ideating. Here are some of the things I would change:
- Thicken cage sides in response to some analysts’ concerns about its strength.
- Modify the the baseplate (the part that goes against the bike) so that it can be used with standard bottle cage bolts. The current baseplate design is too thin to be used with “standard” bottle cage bolts. The head of the bolts stick out and rub against the can. I have bolts with much thinner heads that I’m using for now, but I would like to modify the design so anyone can print it and stick it on their bike.
- Increase assembly tab size to make the cage assembly to be stiffer and more consistent.
- Add a rubbery material on the interior to prevent slippage between the can and cage.
I will be releasing a revised design with these changes after I do some extremely strenuous testing (crash my bike repeatedly) over the next couple of months. I’ve also received a request for a Tallboy version. That version will be coming out later–once I figure out the magic of parametric design.